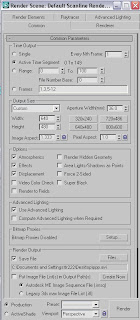
 I managed to create a short 6 second video during my time in the first tutorial, which I will show at the end of this post, but for now I will show the windows that I learnt would take me through each stage of the production process
The render window is, of course, initially identical to when you need to render static images on screen but, when an animation has been produced through key-frames and multiple tracks, there are a few options you need to change in order to output render correctly
Time output will be set to the files 'Active Time Segment' of however many frame are contained within the motion-capture, the output resolution needs to be selected also (I chose a equivalent QVGA res. of 640x480) and then all that needs to be done is save the file and finalize output through the .imsq path
Once the render button is chosen, it will take anything from 10 seconds to upwards of 90 seconds, depending on file size...
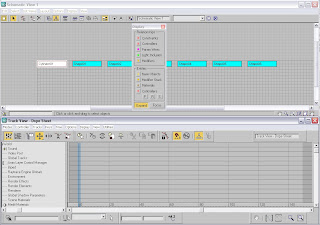 This image shows two important windows that ,although not completely necessary, are indeed provide important information throughout the process of constructing the animation.
The upper window is the 'Schematic View' which allows the user to display the relationships between the scenes entities (the on -screen objects), which are colour coded for quick-reference! This window is useful for analysing any entities that make up a complete item e.g. fingers made from bone,muscle etc
The lower screen allows the user to adjust the postion of all the key-frames and crucial moments in the animation and alter their properties
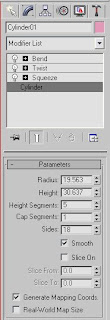 ^ This is the window along the right-hand side of the screen which is used, as with static objects, to modify the shapes/forms of on-screen objects. The process by which you add modifiers onto the objects is only different by the use of the 'Set-Key' and 'Auto-Key' button underneath the timeline which will determine at which point the object will move or alter its form (this part confused me for a while but, almost by chance, I found out how it worked) ^
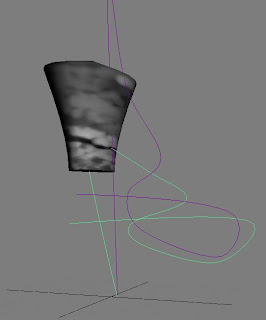
Now we come to the actual object itself...
Here I have my object, which has a marble-effect material on it, during the action of moving around the screen
This is visible due to the trajectory markers present in the image, markers which scale out the path which the objects take through all three-axis
The two-tone scheme, I believe, relates to the inner and outermost edges of the object and the path the take interdependently from each other
The next images follow in sequence...
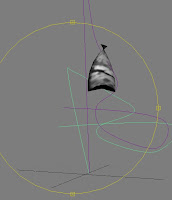 ^ The 'Squeeze' modifier was used to good effect here and the top of the object begins to pinch inwards and pull the form upwards into an almost bow-like shape at the top ^
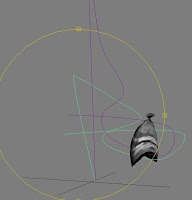 ^ I then used the 'Twist' modifier to achieve the curved shape underneath the object, as well as it gradually folding over itself as it began to swoop away from the camera ^
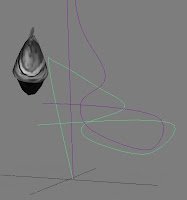 ^ Finally, I used the 'Bend' modifier to achieve an almost witches-hat form to the shape as it distorted, bent over and hunched with a drooped peak on it ^
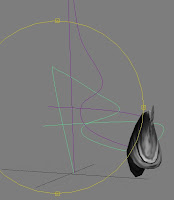 ^ As the image shows, the rendered material also stretches and warps as the object changes shape which, in some instances, may be a disadvantage or not ^
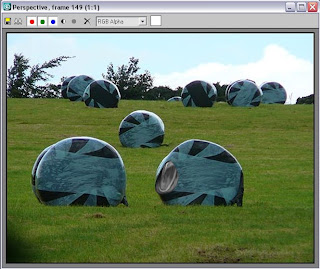
To quote a certain individual in the room at the time I was creating this 'piece, my 'magical-moving-humbug' has been adorned with a typically relevant background too, even though the actual animation look ever-so slightly out of place on it...
My next post tomorrow will be the start of my project, in which I will be presenting a research board and usual text to explain my decisions, in addition to this I have three mood boards which will include imagery related to my chosen subject matter and any images which I feel add to the point I'm making (even if that point is vauge and not-so-crystal-clear as it could be!) Onwards and upwards, as they say...oh yes, the video>>
EDIT: Week 2: After learning about cameras and structured paths that can be created, thus allowing them to follow a set route, I decided to post a much improved animation on here (well, in truth, its a short camera fly-by of an interior that could come from the inside of a spaceship...if that space ship had a gigantic oversized teapot in a storage room perhaps...!

No comments:
Post a Comment